For anyone who has ever had to hand off a design to a developer—or vice versa—the friction is real. Designers work in layers, groups, and vectors. Developers work in code, components, and pixels. The handoff is where things break. I have spent more hours than I care to admit rebuilding assets because the original SVG was a mess, or because the designer sent a PNG that needed to be recreated from scratch. When I first heard about a tool that could generate editable SVGs from text prompts, I was skeptical. Most AI image generators are great for concept art but terrible for production work. Then I tried svg generato, and it forced me to rethink how I approach the entire asset creation pipeline.
The Real Problem: AI Image Generators Don’t Speak Vector
The AI image generation space has exploded, but almost every tool operates on the same basic principle: turn a prompt into a grid of pixels. The results can be stunning, but they are fundamentally useless for design work. You cannot scale a PNG to fit a responsive hero section without losing quality. You cannot change the color of a single element to match a brand update. You cannot inspect the code and tweak a stroke weight. You are locked into a flat, uneditable image.
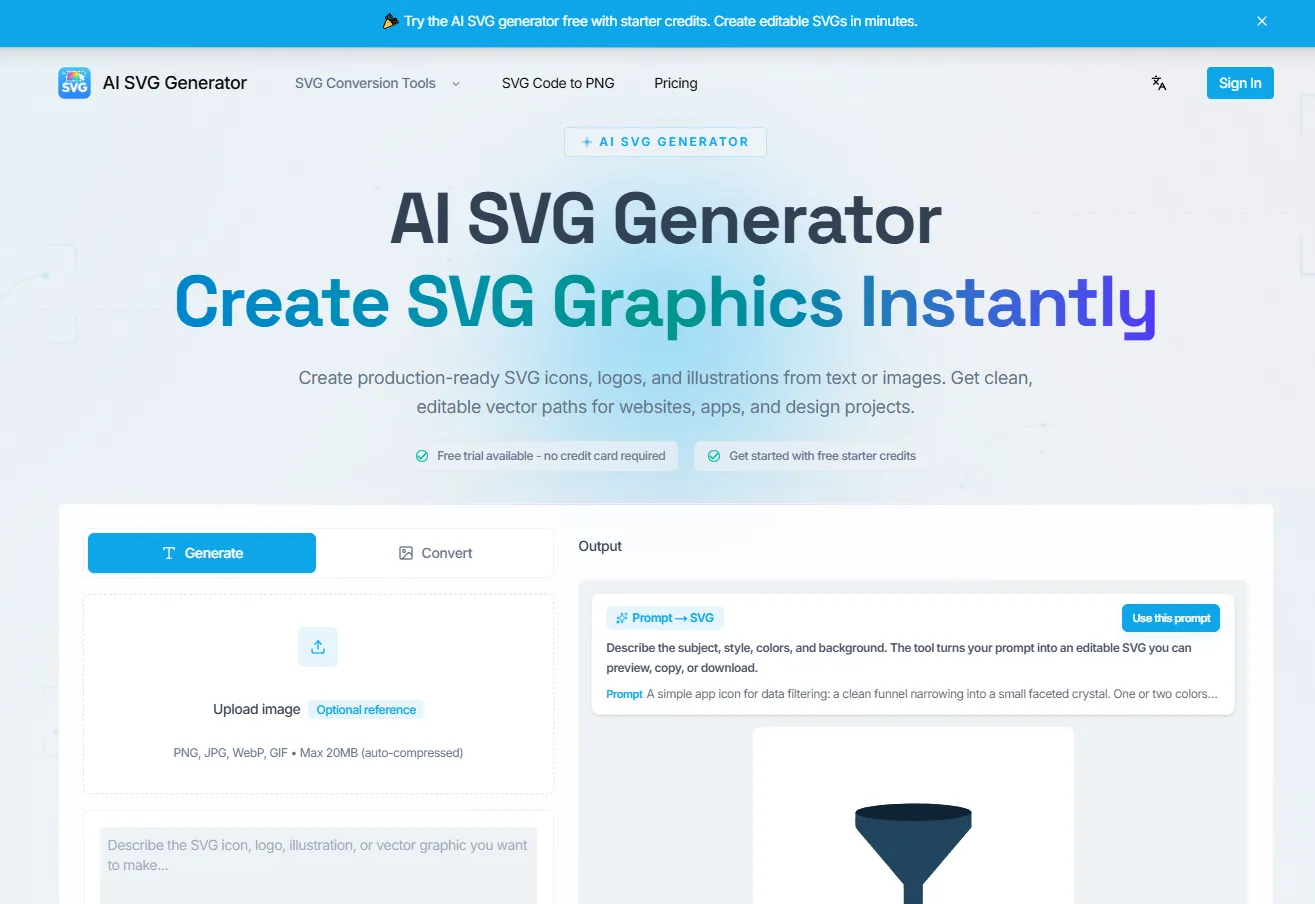
This is the gap that the SVG Generator is designed to fill. It is not another AI image generator. It is an AI vector generator that outputs real SVG code with editable paths, groups, and semantic layers. The difference is not subtle. It changes what you can actually do with the output.
The Test: Generating an Asset That Actually Works
To understand whether this tool delivers on its promise, I ran a series of tests designed to mimic real-world design tasks. The goal was not to see if the AI could make something pretty. The goal was to see if it could make something useful.
Scenario One: The Logo That Needed to Be a Source File
I started with a typical logo design brief: “A geometric logo mark of an origami compass shell, using negative space and a navy, copper, and ivory palette. Centered composition, no text.” This is a specific, opinionated prompt that would require a human designer to think about composition, color theory, and brand identity.
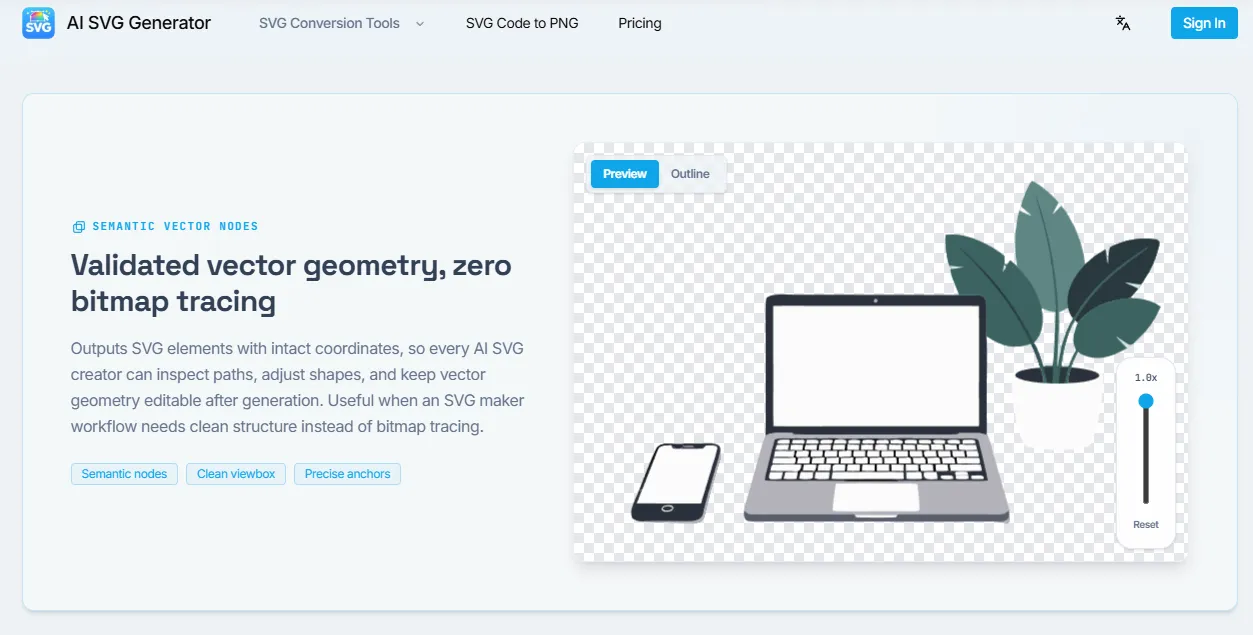
The tool generated an SVG with clean, individual paths. The navy, copper, and ivory were applied as separate fills. The negative space was rendered as actual transparent areas, not white shapes. When I opened the file in Illustrator, every anchor point was intact. I could select the compass points, adjust the stroke weight, or change the navy to a different brand color without touching anything else.
-
The practical difference: This was not a concept image. It was a source file. I could hand this to a developer, and they would have the same editable layers I had. The tool preserved paths, groups, and shapes in a way that made the asset immediately usable in a production workflow.
-
The limitation: The composition was slightly off-center. The AI’s interpretation of “centered” was a bit literal—the mark was centered, but it was small within the frame. I had to adjust the viewBox and reposition the paths. It was a five-minute fix, not a complete rebuild.
Scenario Two: The UI Icon That Needed to Be Code-Ready
Next, I tested the tool for a more technical use case: a “crisp 24px line icon for product dashboards.” This is the kind of asset that needs to be precise, scalable, and lightweight. It is also the kind of asset that developers often have to recreate because the design file exports messy SVG code.
The tool generated a clean line icon with consistent stroke widths. The SVG code was compact and optimized. The platform claims that its output is “SVGO optimized” and “JSX compatible,” and in this case, it was. I was able to copy the inline code directly into a React component with minimal adjustments. The stroke and fill attributes were clean, and the paths were structured in a way that made sense.
-
The practical difference: This saved me from having to manually clean up a messy SVG export from a design tool. The code was production-ready. For a frontend engineer like Daniel Park, who uses the tool to get “the style [he] need[s] for empty states and settings, ready for React,” this is the entire value proposition.
-
The limitation: The icon design itself was generic. It looked like a solid, standard UI icon, but it lacked a distinct brand voice. The tool is great for generating a solid foundation, but it is not a substitute for a designer’s creative intuition when you need something truly unique.
Scenario Three: The Marketing Graphic That Needed to Be Reused
Finally, I tested the tool for a larger marketing asset: a “minimal landing-page illustration for SaaS hero sections.” This is the kind of asset that often gets created once, used in one place, and then forgotten because it is too difficult to adapt for other formats.
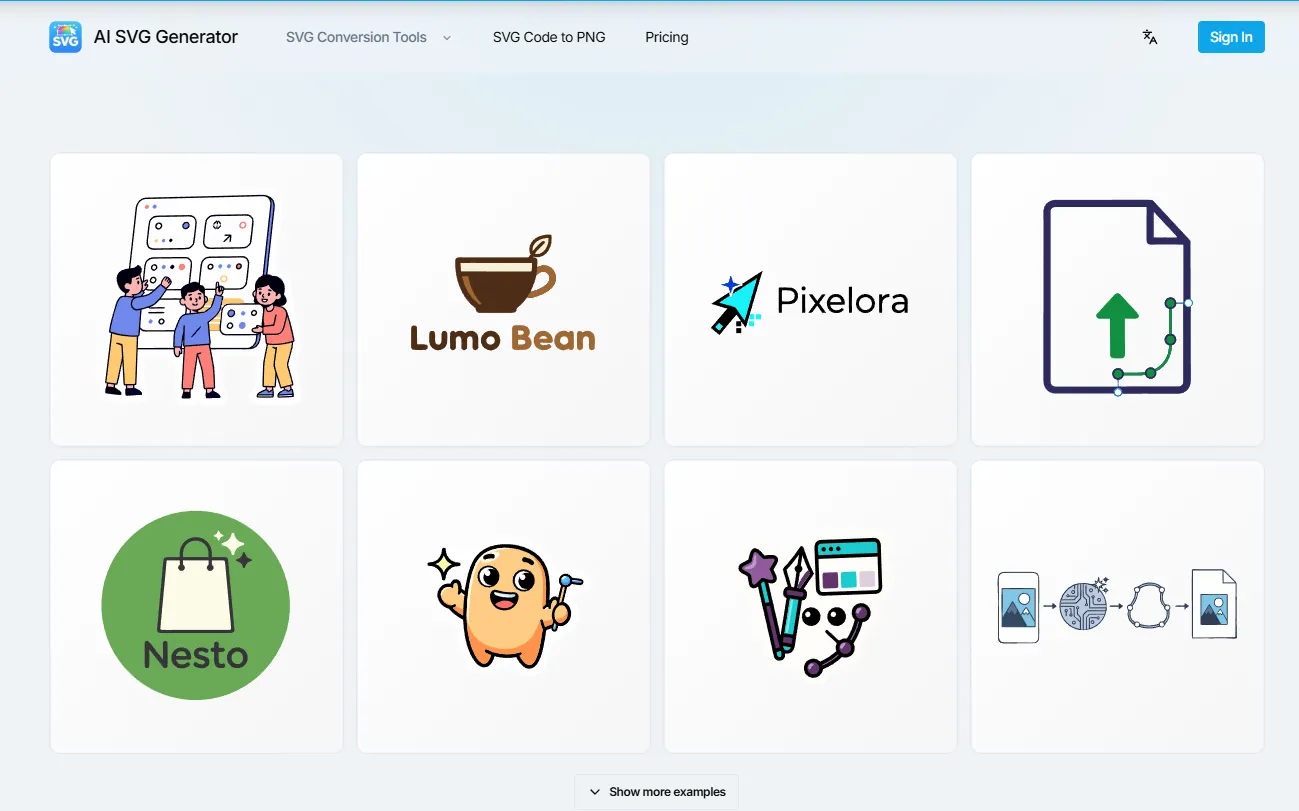
The tool produced a flat illustration with editable shapes and groups. The composition was balanced, and the color palette was harmonious. Because it was an SVG, I could easily change the color of a specific element to match a campaign theme. I could scale it to fit a hero section, a social post, or a print ad without losing quality. The platform emphasizes that one SVG file can “power apps, print, and dark-mode assets,” and this test confirmed that capability.
-
The practical difference: The asset became a single source of truth. I did not need to create separate versions for web, social, and print. I had one file that could be adapted for any surface.
-
The limitation: The illustration style was clean but fairly simple. For a more complex scene with multiple interacting elements, the AI’s understanding of composition and spatial relationships might not be as strong. The result may vary depending on the complexity of the prompt.
The Workflow: From Prompt to Production in Four Steps
The tool’s process is straightforward, but the details matter. It is not a black box. It is a repeatable workflow designed to get you from idea to usable asset with minimal friction.
Step One: Describe Your Graphic
This is where the quality of the output is determined. The tool encourages you to write what you need in natural language: icons, illustrations, logos, UI elements, or diagrams. The key insight is that specific prompts produce better results. A prompt like “a dashboard icon” will yield a generic icon. A prompt like “a crisp 24px line icon for product dashboards, with consistent strokes and a centered composition” will yield a much more useful asset.
-
The practical takeaway: Treat the prompt like a brief you would give to a human designer. Include details about the intended use, the style, and the technical requirements. The more context you provide, the better the AI can interpret your needs.
Step Two: Generate SVG
The AI converts your prompt into clean, structured SVG code with editable paths instead of a flat bitmap. This is the core differentiator. The output is not a pixel-based image. It is a set of mathematical paths that can be edited, scaled, and manipulated.
-
The practical takeaway: You are not locked into a single, unchangeable image. You get a source file that you can treat as a starting point for further refinement.
Step Three: Customize and Refine
You can fine-tune the generated SVG’s style, color, and details, or regenerate variations for another direction. This is where the tool becomes a creative partner rather than a one-shot generator. If the first result is close but not perfect, you can tweak it. If you want to explore different directions, you can generate variations.
-
The practical takeaway: The variation feature is particularly useful for exploration. In my testing, I found that generating a few variations of a logo mark allowed me to quickly compare different compositions and color treatments without redrawing anything.
Step Four: Export and Use
You can download the SVG file or copy optimized code for your website, app, design tool, or client deliverable. The platform supports a wide range of workflows, including Figma, React, Illustrator, Sketch, and Tailwind CSS. This is where the tool proves its worth as a production-ready asset generator.
-
The practical takeaway: The output is not a dead-end. It is a living document that can be used across multiple platforms. For designers, the ability to copy-paste directly into Figma layers preserves anchor points, stroke weights, and groups. For developers, the ability to copy inline React components and Tailwind-ready markup is a massive time-saver.
The Honest Assessment: Where It Excels and Where It Doesn’t
No tool is perfect, and the SVG Generator is no exception. The biggest limitation is the dependency on prompt quality. A vague prompt will produce a vague result. This is not a flaw in the tool; it is a reflection of how AI works. The AI can only interpret what you give it. If you are unclear, the output will be unclear. This requires a shift in mindset from “telling the computer what to do” to “writing a clear brief for a designer.” It is a skill that takes practice to develop.
Another limitation is the complexity of the output. The tool is excellent at generating clean, structured vectors for standard use cases like icons, logos, and flat illustrations. However, highly complex scenes with multiple interacting elements or very specific, niche subjects may result in a messy or unusable SVG. In my testing, the tool performed best when the prompt was specific and the desired output was relatively simple. For complex scenes, you might need to generate a few times to get a usable result, or use the generated output as a base layer to build upon in your own design tool.
The platform notes that most generations use 1–4 credits, and downloads and exports do not use extra credits. The pricing structure is designed to accommodate different usage patterns: free starter credits for testing, one-time credit packs for occasional use, and monthly plans for ongoing work. The Standard plan offers 100 credits per month at $19.9 per month, and the Pro plan offers 350 credits per month at $39.9 per month.
Who This Tool Is Actually For
Based on my testing and the real-world testimonials on the site, the SVG Generator is an ideal solution for several distinct groups.
-
For the Solo Founder: As Owen Mitchell, an indie founder, notes, the ability to create consistent assets for app icons, onboarding illustrations, and a launch page without hiring separate freelancers is a game-changer. It empowers non-designers to create professional-looking assets.
-
For the Frontend Developer: Developers can use the tool to generate custom icons and illustrations for their projects without having to wait for a design team or struggle with a design tool themselves.
-
For the Product Designer: For designers, the tool serves as a powerful ideation partner. It can generate 4-5 different directions for an icon or illustration before opening Figma, allowing for faster exploration and more confident decision-making.
-
For the Etsy Shop Owner: Speed is critical for creators who need to react to market trends. The tool allows them to quickly test sticker and cut-file ideas before a trend passes.
The tool is not trying to replace a skilled designer. It is trying to make that designer’s life easier. It is a powerful assistant that can generate a solid, editable first draft in seconds, freeing up time for the higher-level creative work that only humans can do.
The Bottom Line
The SVG Generator is a pragmatic tool for a specific problem. It is not a magic wand that creates perfect, finished artwork with a single click. It is a tool that generates a structured, editable foundation that you can then refine and perfect. It democratizes access to vector graphics, speeds up the ideation process, and bridges the gap between design and development. If you have ever spent hours redrawing an asset because the original SVG was a mess, or if you have ever wished you could generate a production-ready vector from a text prompt, svg generato is worth your time. It delivers on its core promise: turning ideas into editable vectors, and letting you take it from there.